Digital Illustration
Fundamentals
Design Brief looking at illustrating the plight of Endangered Species of the UK
1. Research how computers are used in Digital Illustration
2. Researching into five illustrators and experimenting with their graphical techniques
3. Sketchpad drawing and experimentation should be evidenced
Software: Adobe Illustrator
Lesson One:
Tutorial by Designer Jessica Walsh
Designer and Art Director in New York, Faculty at the School of Visual Arts
Playful Typography treatments
The tutorial introduces you to using basic elements, circles, squares and triangles.
Geometric shapes, lines, gradients and some illustrator effects.


What tools did you use?
Circle Tool to create circles, ellipses and half circles
Free distort was used to create the tear drop effect
Gradient tool
Pathfinder tool
Alignment tool
Blend Tool:
Pucker and Bloat tool
Expand appearance:
Stroke tool:
Pen tool
Warp tool
Selection and Direct selection tool
Zig Zag Tool
Extrude and Bevel tool
What is illustrator software?
What are the file formats?
What is a vector as opposed to a raster image?
How did you use them?
Include Screen shot evidence?
Include examples of your own Typography ideas inspired by this tutorial?
Research into the Work by Jessica Walsh
Blending handcraft, photography and painting with digital design, Walsh works primarily on branding, typography, website design and art installations.
Her signature style has been described as "bold, emotional and provocative" with the occasional surrealistic flourish, and her art has been said to look "hand-made and at times quite daring."
Walsh has worked on projects for clients including Levi's, Aizone, Adobe and Colab Eyewear,and rebranding efforts for The Jewish Museum of New York and the Aldrich Contemporary Art Museum in Connecticut.
Walsh and Sagmeister collaborated on Six Things: Sagmeister & Walsh, an exhibition that opened at the Jewish Museum in March 2013, and ran for five months. For the exhibit, an exploration of happiness, they created a sound-activated sculpture and five short films.
Here are some of her work that Jessica Walsh has created.
Please get examples of Jessica Walsh's work and discuss it using design visual language?


Lesson Two
Tutorial by Designer and illustrator Anna Wray
London based graphic designer and Illustrator
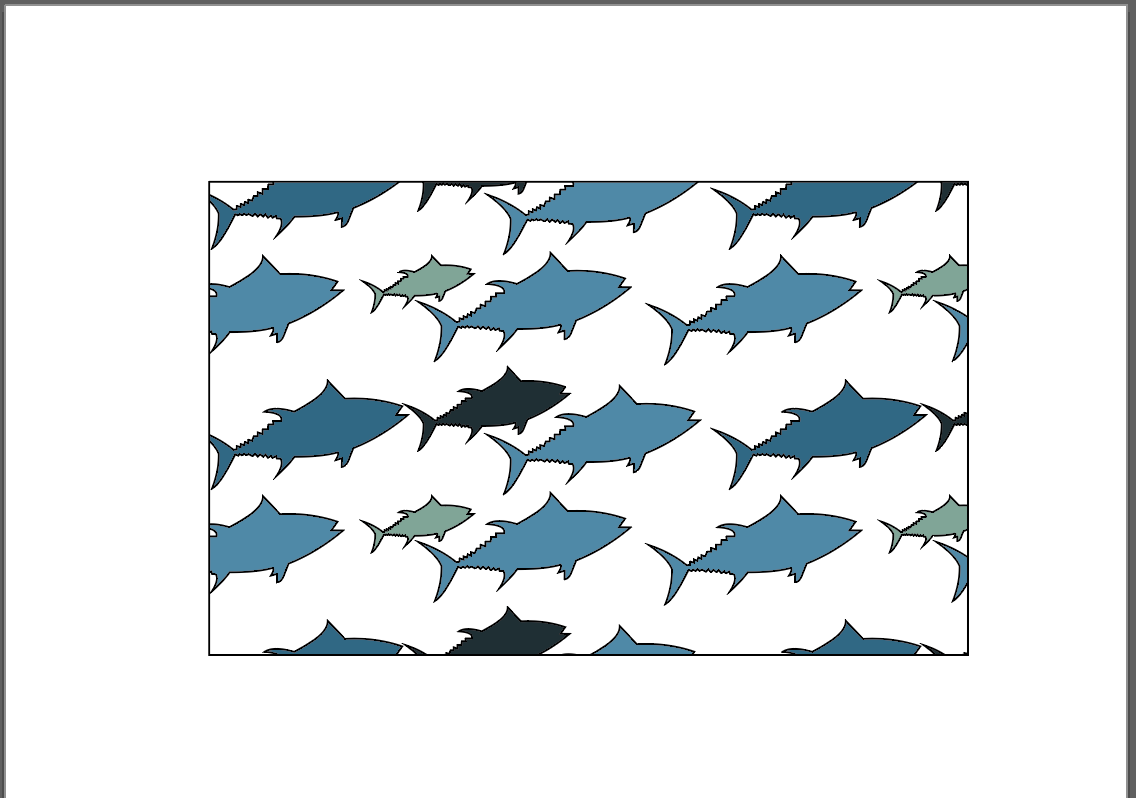
Design seamless character patterns
Pattern designs application is far ranging, from fashion and fabrics to wallpaper and print. Many graphic artists and illustrators focus almost exclusively on pattern design, working as designer-makers, selling to boutiques or creating commissioned
work for larger companies such as Habitat or Urban Outfitters.
At the moment, character patterns are very popular for children’s wrapping paper and wallpapers.
The process of pattern design very much has its roots in illustration. Many of my designs begin life as characters or commissioned illustrations that are re-designed, added to and tweaked to be given a new life as a pattern design, ready for an
entirely new application.
In this tutorial I will take you through my process of making a character-based, seamless pattern in Illustrator. While I am using vector-based imagery, there is nothing to stop you using the same tiling techniques with hand-drawn imagery.
How is the artist using computers to generate her ideas.


Describe the techniques and tools used.
Pen tool
Shape tool
Direct selection tool
Anchor Tool
Colour fills
Colour Palette
Placing objects into Illustrator.
Pathfinder tool
Pattern
Describe the artist work using Design visual elements.
Use these key words when describing the work.
Line, colour, shape, texture, space, value and size.


Develop three of your own character designs, base it on species that are en-danged in the UK. See my Squirrel drawings from my sketchpad, and developed as a simple illustration.


Follow the tutorial that was handed out to complete your pattern seamlessly
Follow the steps taken in the tutorial by Anna Wray
see tutorial on VLE.


Lesson Three
Blend tool
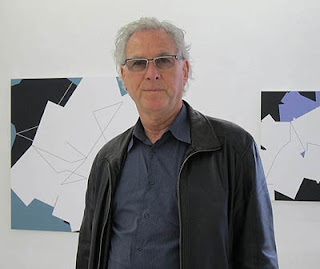
In today's lesson we looked at the work of Andrea Minini
and looked at the techniques using lines, strokes, gradients and the Blend tool.
We used the pen and pencil tools
Screenshot your tutorials and talk about the steps you took to create the wire frame
Skull. Have a go at producing your own interpretation and evidence it in the Blogger page you have created called Computers in Art and Design.


Here are some examples of Andrea Minini work using the techniques we experimented in class today.
Andrea Minini: illustrator, graphic designer
The artist uses the shapes and Forms of the animals, Sea creatures, insects, and Birds,
And then uses the pen, pencil took to create a series of lines using and experimenting with the Blend Tool. Colours can be added by changing the stroke colour using the gradient tool.
See example below


Have a go at using this technique on your own work
see the example below

https://blog.spoongraphics.co.uk/tutorials/how-to-create-a-cubist-style-logo-design-in-illustrator
https://blog.spoongraphics.co.uk/tutorials/how-to-create-an-origami-style-logomark-in-illustrator


Lesson Four
Shapes and colour compositions.
Polygons
Shape tools
Blend and gradients
Pen tool
Layers and art boards
Here is the work of Artist and Designer: Diana Hlevnjak
Bird Illustrations. Illustrator has been used to create these illustrations using
the pen tool to create a series of connecting triangles and the gradient tool. Images have been simplified to create origami type patterns, as seen by artist Diana Hlevnjak.
A limited palette of colour based on the colours of the animal for example below the bird a series of green tones.
the pen tool to create a series of connecting triangles and the gradient tool. Images have been simplified to create origami type patterns, as seen by artist Diana Hlevnjak.
A limited palette of colour based on the colours of the animal for example below the bird a series of green tones.


Artist and Designer: Diana D'Achille


Lesson Five
Blend modes and transparency
The pen tool in illustrator to create the shapes.
The overlays are achieved either through setting the shapes to "Multiple" and lowering the opacity
Russian Designer Ilya Shapko
https://design.tutsplus.com/tutorials/create-a-jellyfish-with-brushes-in-adobe-illustrator-cs5--vector-5184


Lesson Six
Complete all your project work in your sketchpad and use Adobe spark as your evidence of visual journal-ling. See my adobe spark link below.
Digital Illustration & Design

Create a magazine spread showcasing your illustrations highlighting the plight of
endanger animals in the UK. Use your illustration techniques and your drawings to develop a range of illustrations. These will then be arranged and presented using indesign.
Lesson Seven, Eight, Nine, Ten.
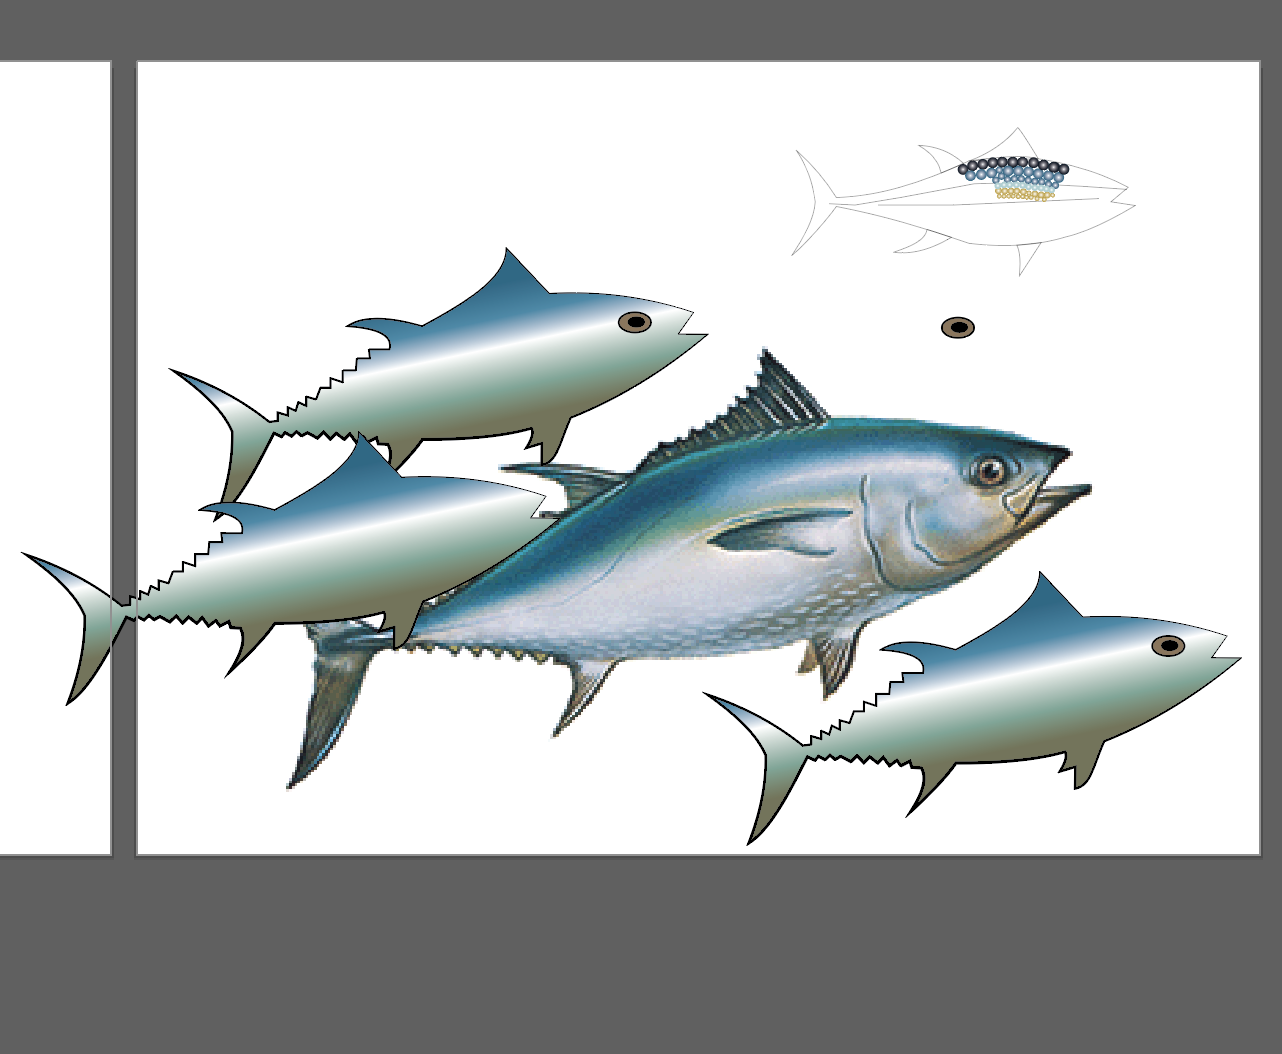
Pick six endangered species in the UK, they can be mammals, birds, insects or marine life.
Get images of these animals and start making studies of the animals in your sketchpad, looking at their line contours, shape, forms, colour and textures
Make visual studies of your chosen creatures.
Annotate your drawings with notes about the animals form.
Use a range of materials, colour pencil, paint, pen, and pencil techniques in your Sketchpads.


See my experimentation of different illustration techniques looking at the blue tuna


Lesson Eleven and Twelve.
Adobe In design set up
Start sketching ideas for your page set up
Look below at all the different ways a page could be created with different layout ideas.
Thumbnail sketches are a good way to experiment with ideas.
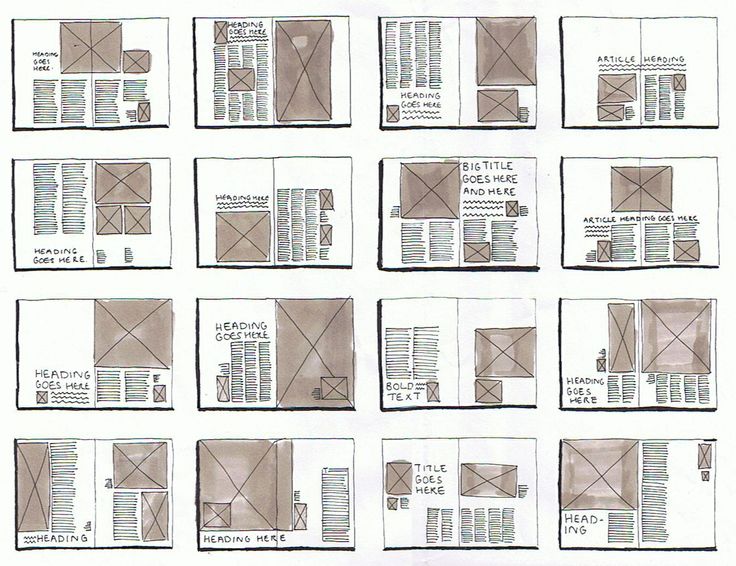


Endangered Species of the British Isles


Start by setting up a new document in in design either A3 landscape or if you prefer two A4 Portrait pages facing each other.
Play around with your margins and columns trying 2,3,or 4. Screen shot your evidence so you can show your page as it develops

See mine below playing around with Layout ideas.
Experiment with your margins and columns, looking at 2,3 or 4.
Use columns and guidelines to help with your layout composition.
see screen shot below from indesign set up
Here is a final study as an example below

see my website http://www.saranevison.com/illustration.html


No comments:
Post a Comment
Note: Only a member of this blog may post a comment.