Adobe Illustrator is the perfect tool for creating abstract art with basic shapes and lines. In today’s tutorial I’ll show you how to create this geometric stripy line effect with a custom Art Brush. It’s an effect that looks fantastic yet it’s pretty easy to make, plus it’s a technique that can also be used to create cool logos and typography.
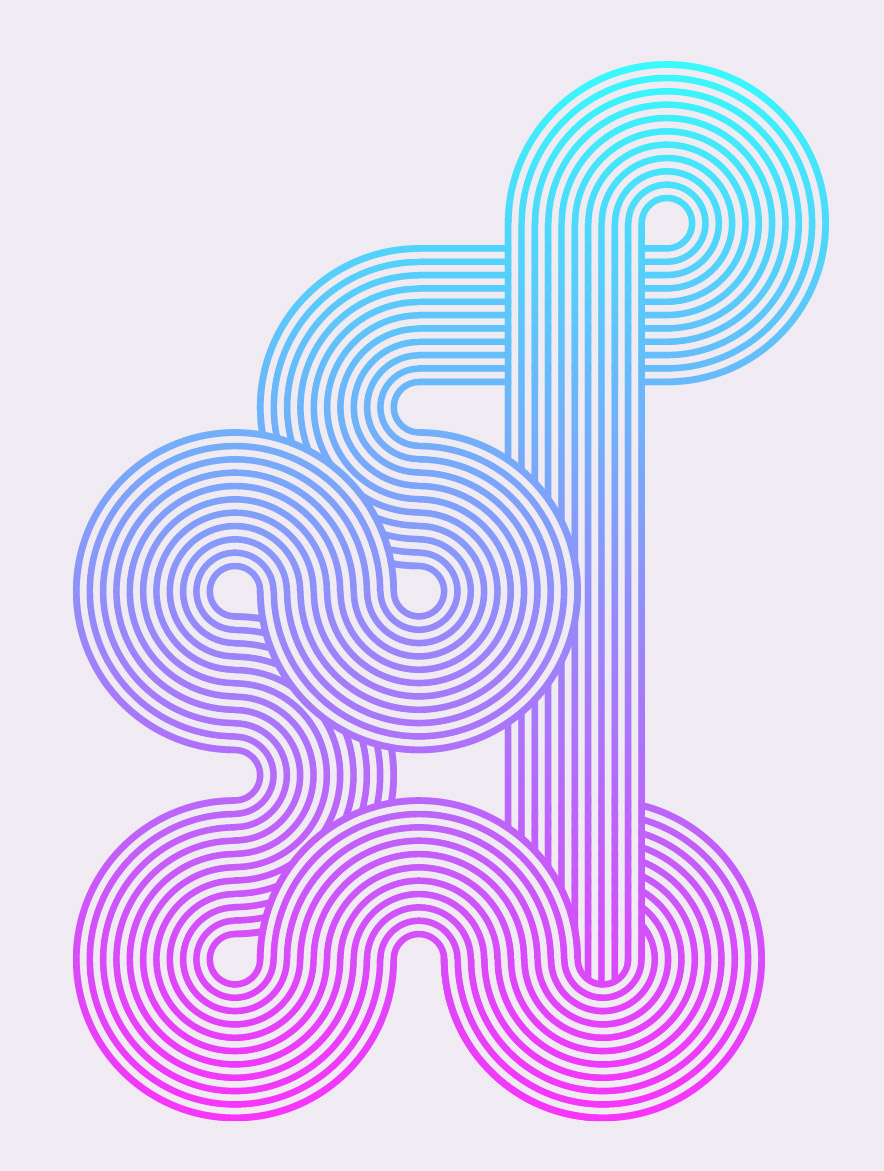
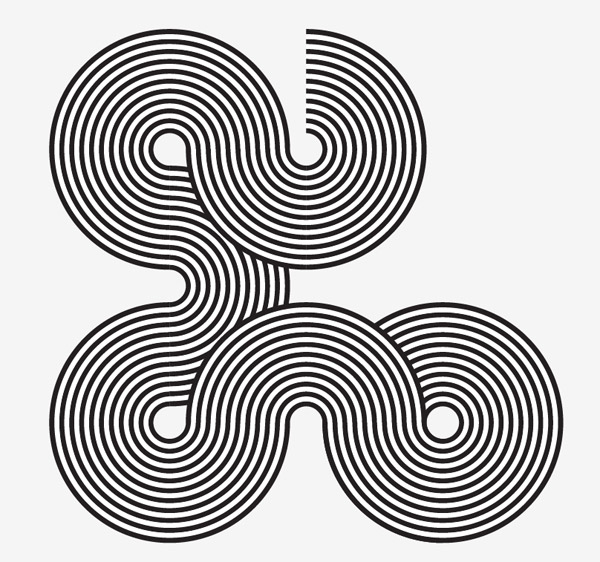
The artwork we’ll be creating is this interwoven stripy line effect. It’s a really simple process but it can be used to create some really cool designs. We’ll be using it to create a bright and colourful poster, but it also looks great when used to create intricate logo symbols or custom typography.
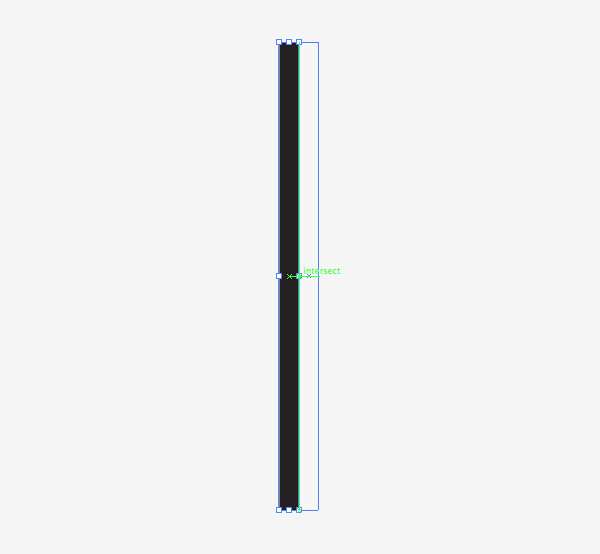
Create a new document and use the rectangle tool to draw a long thin shape with a black fill. Turn on Smart Guides (CMD+U) then hold ALT and Shift while dragging with the mouse to create a duplicate. The Smart Guides will make it easy to perfectly align these shapes side by side.
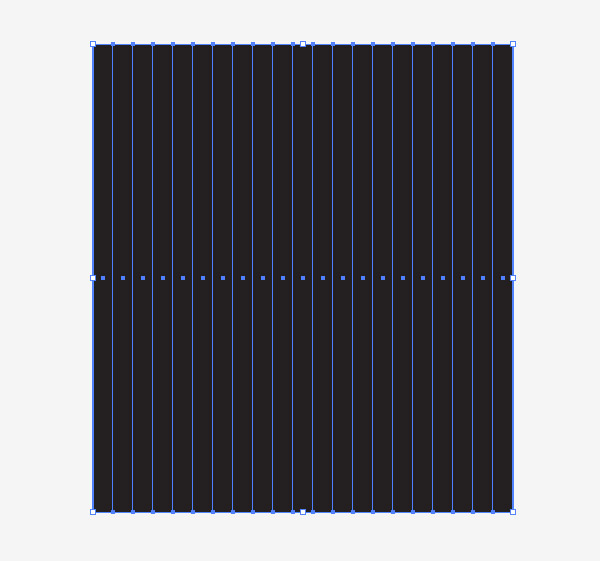
Repeatedly press the shortcut CMD+D to “Transform Again”, which repeats the duplication and creates a series of perfectly aligned shapes.
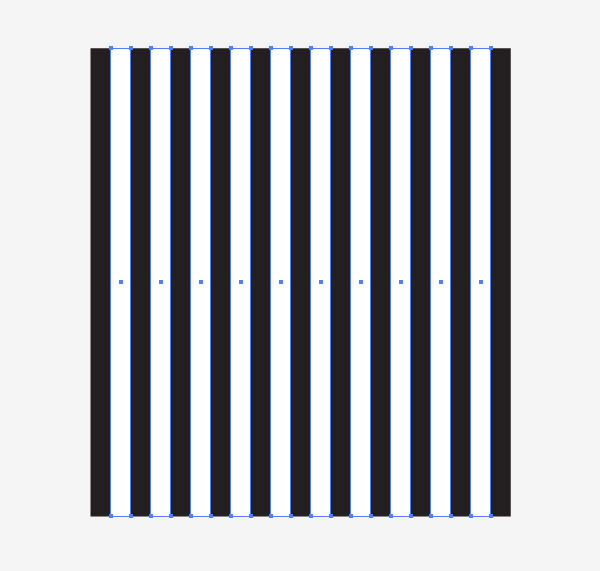
Select every alternate rectangle shape and change the fill colour to white to create a stripe pattern.
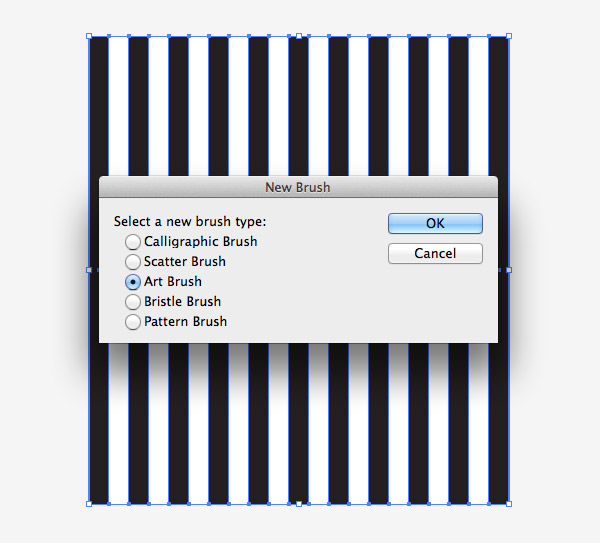
Click the “New” icon at the bottom of the Brushes panel to create a new brush. Select the Art Brush option. Ensure the flow of the brush runs vertically in the settings, then click OK.
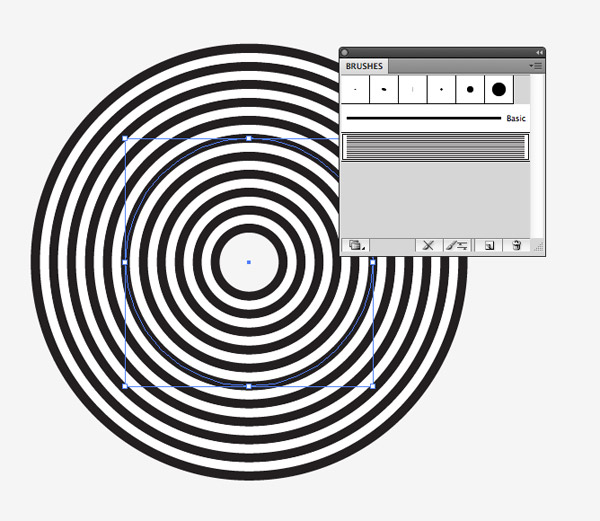
Draw a circle somewhere on the artboard. Clear the fill and stroke settings then apply the new stripy brush. Pro Tip: Turn off “Scale Strokes and Effects” in Illustrator’s Preferences to allow shapes to be transformed without affecting the brush pattern.
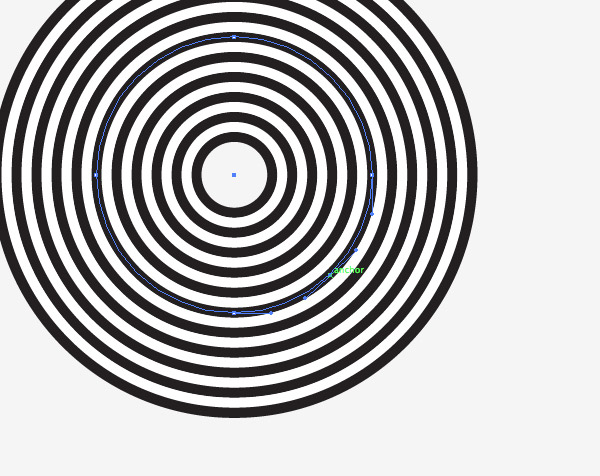
Use the Pen tool to add an anchor point between two existing points then press the delete key to create a 3/4 circle.
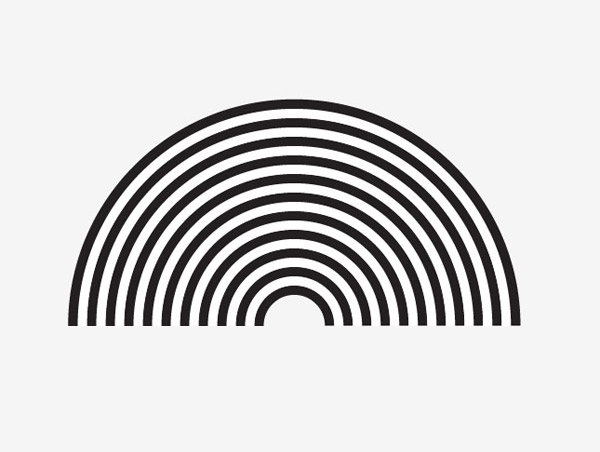
Duplicate this 3/4 circle shape then use the Direct Selection tool to delete the lowermost point to create a 1/2 circle.
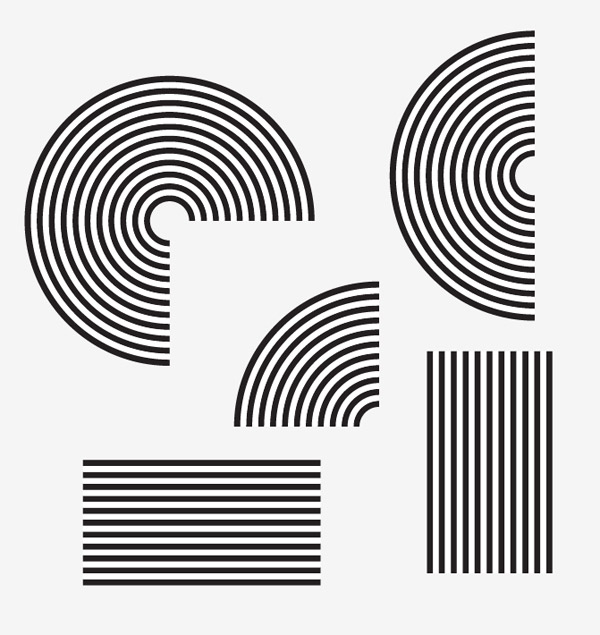
Create a duplicate of the 1/2 circle then delete another point to create a 1/4 circle shape. Also apply the brush effect to a horizontal and a vertical line to round off a collection of building blocks.
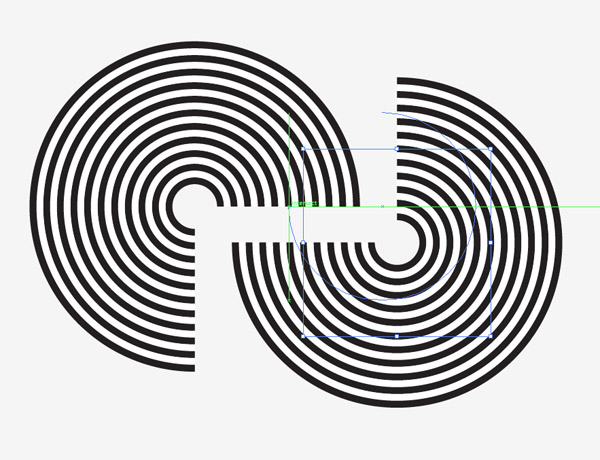
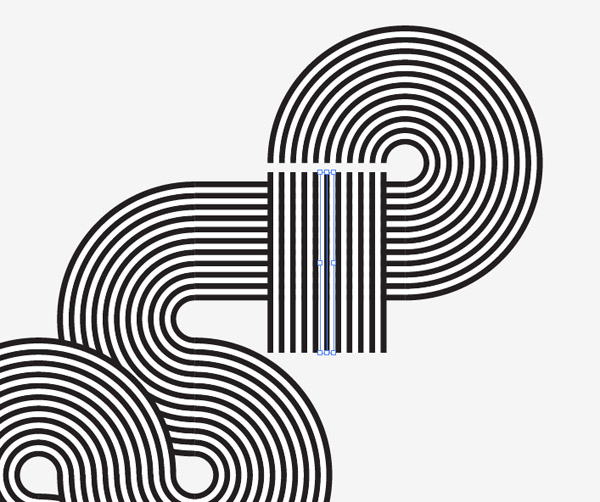
We can now begin building our designs by copying and pasting the various ready made shapes. The Smart Guides will make it easy to snap them together to perfectly align the stripy lines.
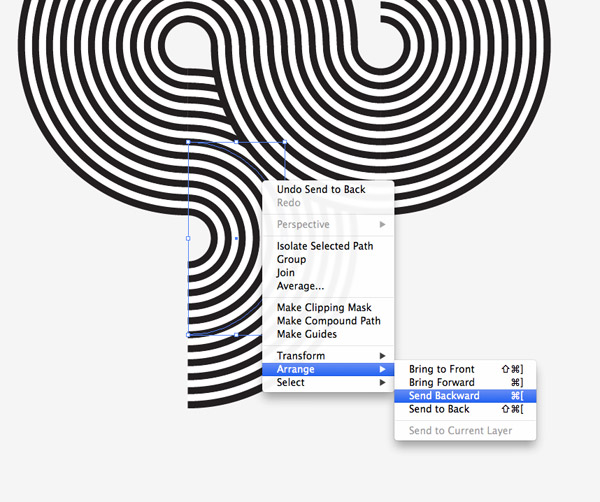
In places where the shapes overlap, you have the option of adjusting the stacking order. Use the shortcuts CMD+[ and CMD+] to shift the elements above and below each other.
When the shapes are aligned perfectly the stripes will flow seamlessly from one shape to the next.
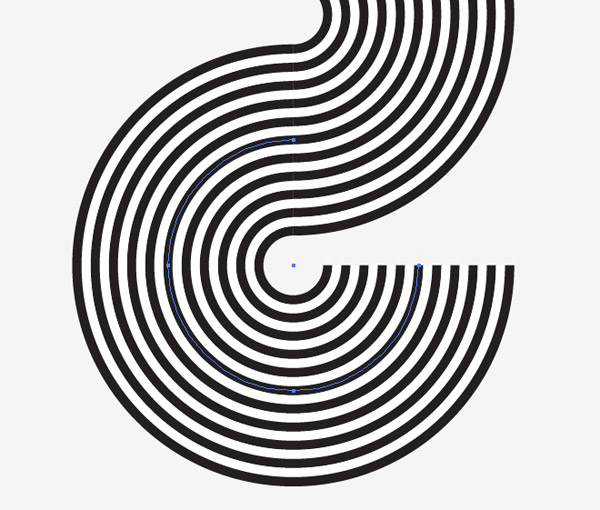
Continue to extend the illustration by adding extra elements. Remember you can rotate the shapes to alter the direction of the lines.
Use the straight paths to extend the illustration horizontally or vertically. These shapes can be stretched to any size.
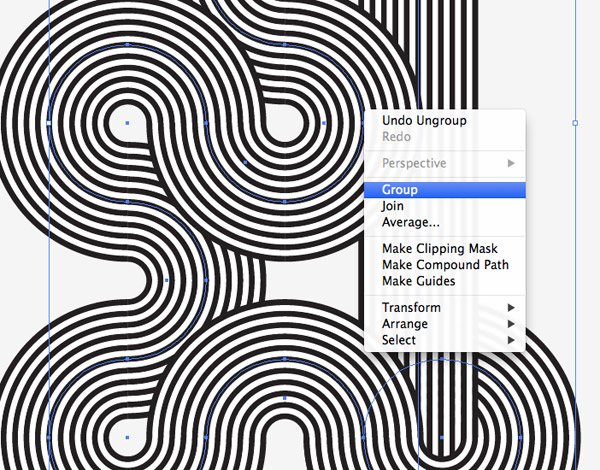
Once your illustration is complete, select all the individual paths and combine them into one group. Press CMD+C to make a copy of the artwork.

Elsewhere on the artboard draw a large rectangle and add a gradient fill. Select two bright colours that will produce a vibrant gradient.
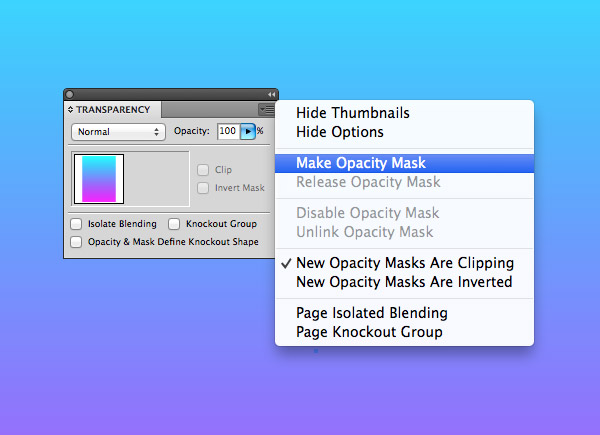
Seelct the gradient rectangle and choose the Make Opacity Mask option from the Transparency panel’s fly out menu.
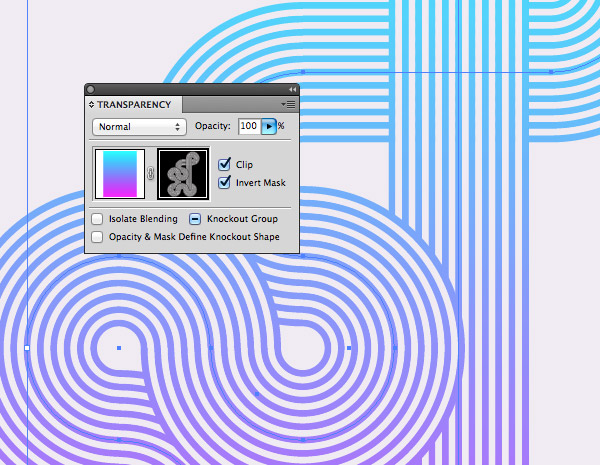
Use the shotcut CMD+V to paste in the stripy lines artwork into the opacity mask. The black and white colours will show and hide areas of the gradient fill to clip the colour to the shape of the illustration. Click the square on the left in the Transparency panel to exit out of the mask editing mode.
The final geometric stripy line artwork looks great with a vibrant gradient applied, but the technique can also be used to build some fantastic looking typography or logos. When building the initial brush, try changing the colour of each shape to create a multicoloured stripe effect!


No comments:
Post a Comment
Note: Only a member of this blog may post a comment.