HOW TO MAKE A CLIPPING MASK IN ADOBE ILLUSTRATOR
A clipping mask is a design tool that not many people know about, but it has the potential to take your designs to the next level. It can spice up a simple piece of text, add beautiful patterns to a standard image, and add a little oomph to even the most basic shape. And the best part is that making a clipping mask is quick and simple.
So what exactly is a clipping mask? It’s an object that masks (or hides) other artwork, so that you can only see the artwork inside the shape. Essentially it is like taking a window and placing it in front of a scene, so that you can only see the scene through the window. This window can be in any form – text, hand drawn shapes, simple shapes, anything you can think of. And the scene can be anything – from a photograph to an interesting pattern. Below I’ve got a few different examples of clipping masks you can make.
HOW DO YOU MAKE A CLIPPING MASK?
Now to the nitty gritty – how do you make a clipping mask in Adobe Illustrator? Though the finished product looks pretty complex and fancy, the process is actually really simple. Here are the steps on how to make a clipping mask. If you’d like to watch a video rather than reading through this tutorial you can scroll down and follow the steps in the video at the bottom of this post!
STEP 1
The first step is to bring in the image that you want to clip from, or the background that you want to display. This could be a photograph or a pattern image, or even a pattern that you created yourself. Then just copy and paste it onto the artboard (the workspace in Adobe Illustrator).
STEP 2
Create the image that you want to clip to. This is the text or shape that you want the background to show through.
If what you are clipping to is text, then type the text as you want it to appear. Then once you have it the way you want, you need to convert it to outlines. Go to the menu Type > Create Outlines. Then you need to make the type a compound path, which makes illustrator see all the separate letters as one big image. To do this you can press Command + 8 or go to Object > Compound Path > Make.
If what you are clipping to is a shape, then you do not need to create outlines, since the shape is already an outline. However, if the shape is a group of shapes, you still need to make a compound path so that they appear as one large shape. Just select all the shapes and press Command+8 or go to Object > Compound Path > Make.
If what you are clipping has a stroke, you first need to turn the stroke into a shape by clicking Object > Path > Outline Stroke. Then you need to make a compound path by pressing Command+8 or go to Object > Compound Path > Make.
STEP 3
Now make the actual mask. First, make sure that the background image is in back, and the clipping is in the front. Then you select both and press Command + 7 or Object > Clipping Mask > Make. This will make the background shape disappear, and you will see that image only where the front shape was.
STEP 4
That’s it! But, if for some reason you want to edit the mask – maybe the part of the pattern you loved isn’t showing through or the picture isn’t in the right place – you just go to Object > Clipping Mask > Edit Contents and then you can move the background image so that the exact part you want shows through the clipping.


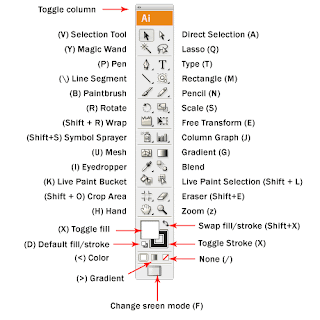





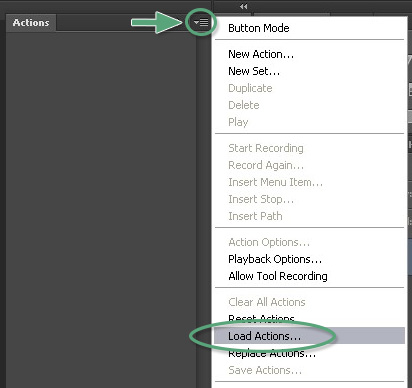
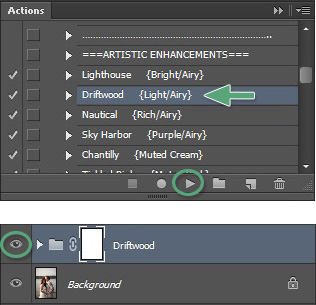 To correctly run and use Photoshop actions, first make sure your Actions palette is open and visible. If it is not visible, the go to “Window” and click on “Actions” from the dropdown menu. With the Actions palette open and Greater Than Gatsby actions already loaded, follow these easy steps.
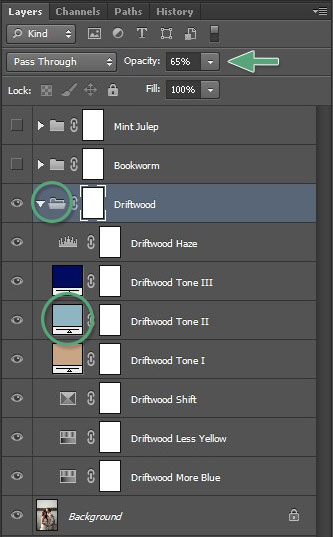 All images are different and in most cases the default settings for an action will need to be tweaked to achieve the perfect look for your photo. There are two main ways to modify or customize a Photoshop action once it has been applied.